While this project was inspired primarily by a resourceful
Dane, I've also been wont to upcycle often and enjoy making something of worth that any other man might think only to toss to the curb. It also fulfilled a task my good wife set for me to make a tray that she would use for storing her stationery and other writing schlock so I could return the tray that she had appropriated back to her trousseau. And if it also served additional roles for demonstrating to students and colleagues as to drawer construction and veneering with hide glue, then so much the better.
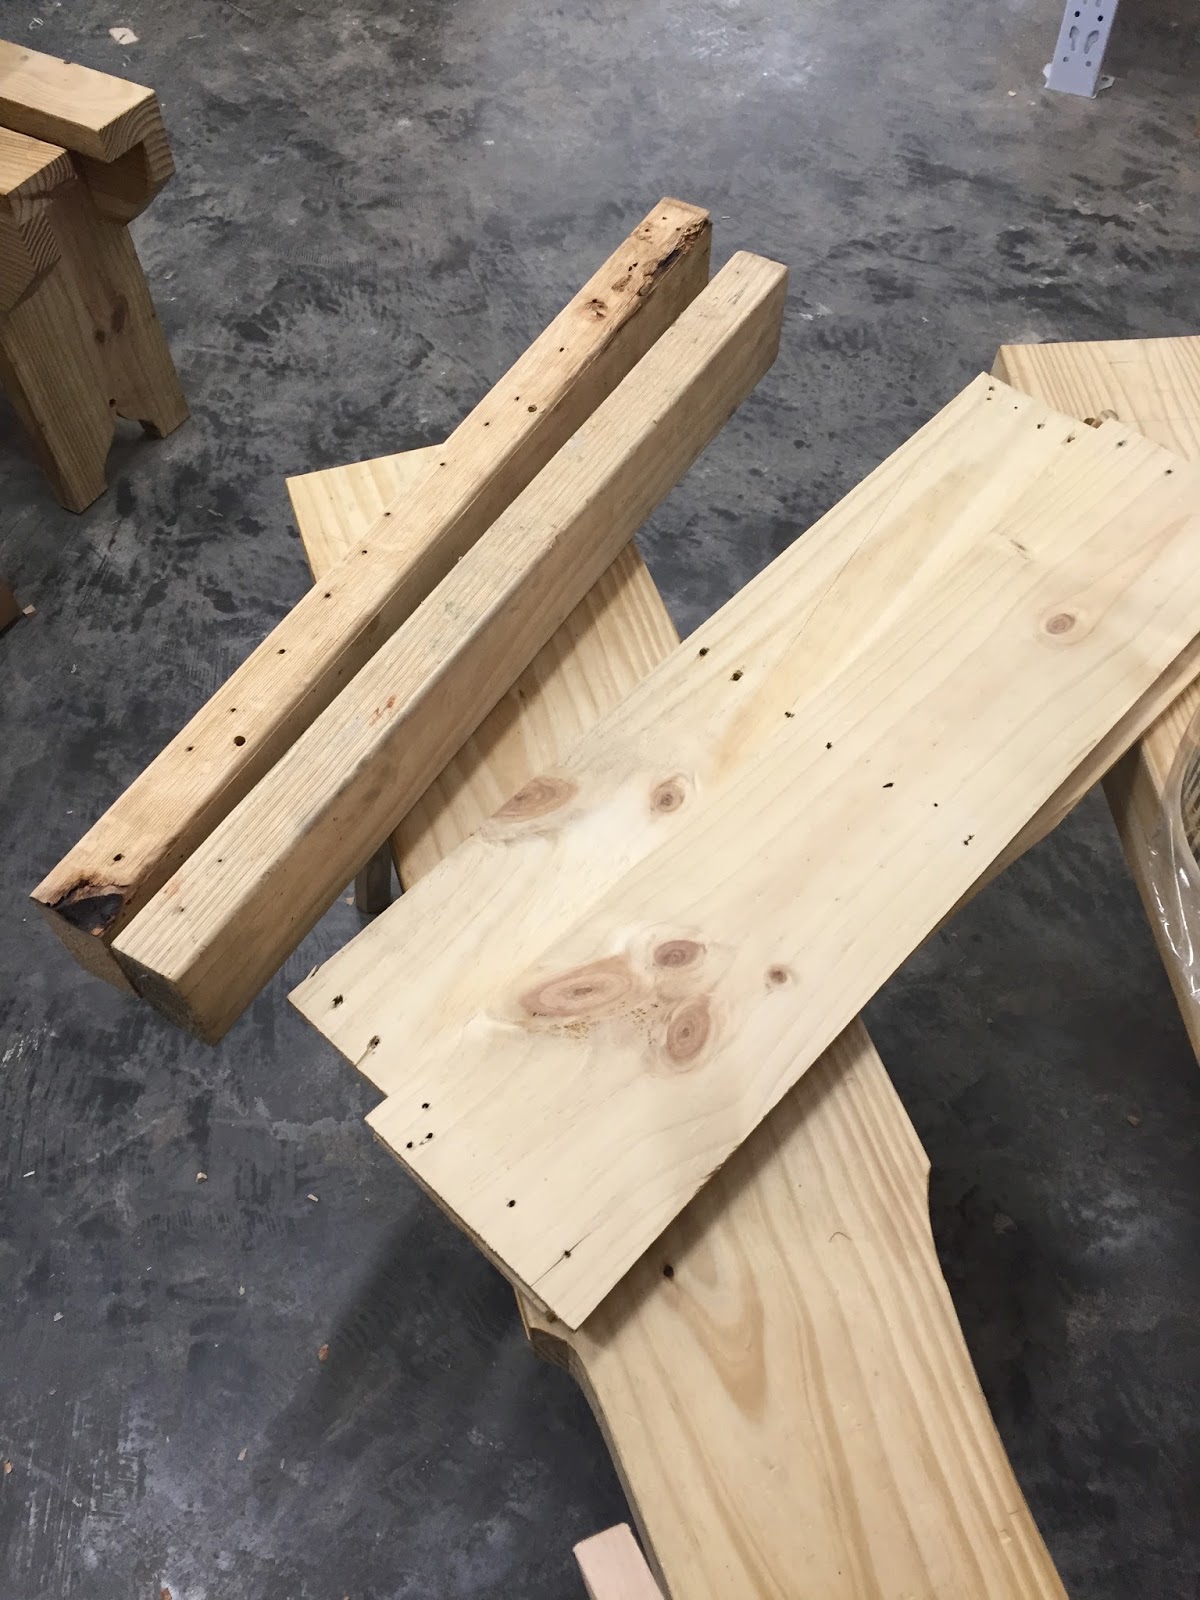
Pine is hard to come by in this woodshop since there is a definite preference for hardwoods, the more exotic and tropical, the better. I had disassembled a pallet a few months back, putting the salvageable pieces aside for an unspecified task.
 |
| repurposed and ready! |
The larger pieces merit some commentary. I am astounded by how much more printing goes onto lumber as can be seen according to this date stamp! How soon before the sawyers begin using barcodes at the mill?
 |
| Authentic only with sawyer's signature |
Would somebody please tell me what "nonstructural lumber" is? And is my planing off that warning the equivalent of removing a mattress tag? Onwards, into the unknown. The surface of these nonstructural '2x4's is another oddity which I had not encountered. I am not even certain whether these ridges are pressed or cut into the wood.
 |
| Ribbed for her consternation |
I applied the accidental veneers to the pine slats. [Insert untaken photos here] These are offcuts from resawing 8/4 and 9/4 stock for other projects offered here.
 |
| A fortune for the picking |
The plainsawn surface provides its own toothed surface and works well for this simple application.
 |
| circumstantial veneer |
 |
| The resawer with a bladeguard that never moves |
While some of these offcuts are too thin for this method, most allow for a few passes on the jointer to reestablish a true face on the veneered side after which I run the pieces through a surface planer to get a common thickness that fits into the dado on the bottom inside of the tray, a snug 5/16". I left a bit of veneer overhang one length of the bottom boards, and then trimmed back the veneer on the mating side of the abutting boards. I found a pleasing arrangement and started assembly by gluing the first into the dado on the front with hide glue, and then to each of the halflaps, stacking them, leaving the last with a slight excess past the back, pressing down until the hide glue had cooled.
 |
| Back with last bottom piece |
 |
| assembled bottom |
After a day, I planed off the excess and cleaned up the inside of any bit of squeezeout with scrapers.
 |
| That which is seen |
It was a satisfying build overall. The walnut veneer, in this case, provide a harder surface against everyday wear, not merely a pretty covering on the pine substrate. There's a lot of European Beech that passes through here. [Insert another untaken photo] It makes for a less eyecatching surface but adds even more hardness to drawer bottoms.
Xin nian kuaile!


2 comments:
That is a fine looking stationary organizer you have made there.
Regarding the non structural lumber, I think it is a sorting grade. It means that you can have a lot of grain run out and also several knots that could otherwise make the lumber unsuitable for e.g. floor joists or rafters.
I am proud to be mentioned as a resourceful person, I am glad that my many pallet wood builds haven't scared you away from my blog.
Happy New Year
Jonas
@JJ
Dude, you don't scare a bit. You are inspirational and exemplary in your methods and motives
Post a Comment